

so you found a template you love. now what?
The thought of editing and printing a template can be daunting. Even as a stationery designer, I totally get it.
The good news? The process isn't as complicated as it seems! All you need to do is access your order, replace the stock wording with your own, make any necessary color changes, and send it off. If you encounter any issues at any step, feel free to shoot me an email at hello@sincerelybynicole.com. I had to learn the process myself and don't expect anyone to be an expert right away. I'm not just here to sell you a design and then disappear!
Now, let's get into the details.
IMMEDIATELY AFTER ORDERING
You will receive an email from 'orders@corjl.com' sent to the email address associated with your order.
Your order email will look like this:
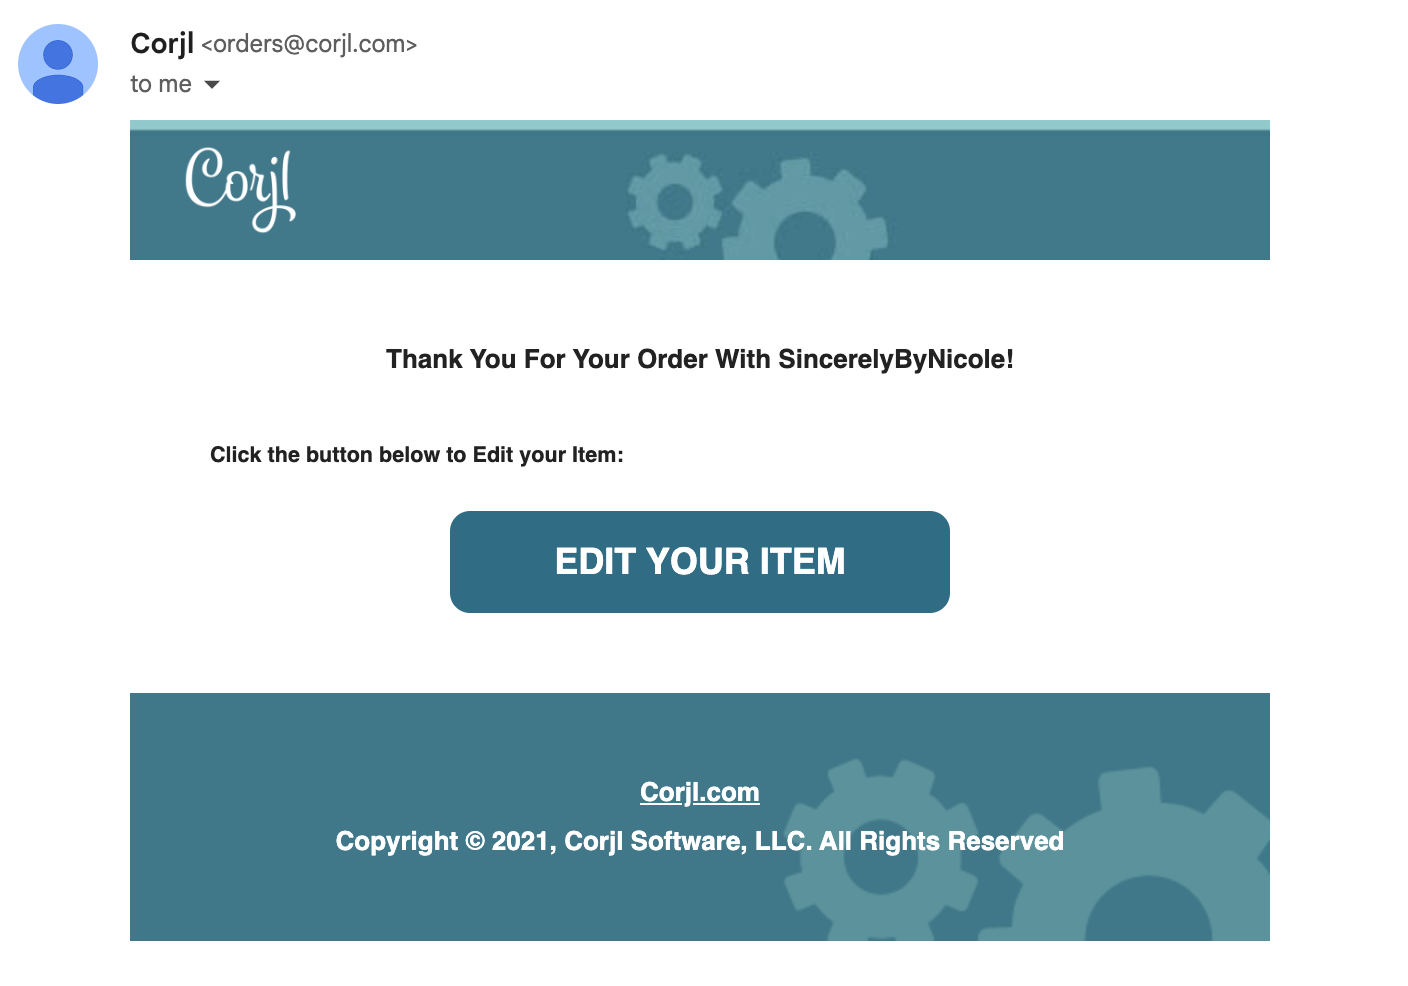
If you don't receive an email from Corjl, or if your email address is incorrect, please go to www.corjl.com/orders and enter your order number. You can find your order number in your confirmation email.
*Please note that orders can take up to 10 minutes to process. However, if your order is taking longer than expected, feel free to get in touch, and I can manually send your item over!
Okay we have the email, let's get to editing!
Once you've received the link in your email, it's time for the fun part—editing!
Before you can start, you'll be prompted to create a username and password to access your order. This ensures that your changes are saved to your account and can be accessed immediately when needed.
This is what that screen will look like:

Now let's get to editing! All wording, fonts, text colors, and background colors are customizable on your template. You'll be able to adjust anything to suit your event and personal style.
However, there are some limitations. Here's what can't be edited on Corjl:
- The size of the template (e.g., a 5x7" invitation can't be modified into an 18x24" sign).
- The orientation of the template (you won't be able to change a portrait invitation to landscape).
- Traditional text formatting options like bold, underline, and italic. However, you can work around this with different font weights (for example, Arial can be changed to Arial Bold, but there won't be a traditional 'bold' button).
Don't forget to save as you go! Corjl does NOT have an autosave feature.
You can find the save button on the right tool bar (highlighted here in red). The template is also marked “incomplete” with a red X.

You will know when your template has been successfully saved when the “complete” message pops up. You will now be able to download your template!

Is everything looking good? Perfect! Time to download
After you've saved everything (and I can't stress enough how important it is to save), it's time to download.
You will be able to find the download button right next to to the save button. You will not be able to download your template without saving! The download button is highlighted here in red.

Once you press the download button, a popup screen will appear. Corjl offers three options for downloading: PDF, JPG, and PNG. You'll need to download your template before printing, as you can't print directly from Corjl. Here is what that screen will look like:

To access the other formats, you will need to click the small arrow next to the words PDF.

This will open up a dropdown menu:

Here's a quick guide on which formats to use for your printing needs:
- JPG: Ideal for professional printing. Make sure to select the 'show bleed' option.
- PDF: Great for at-home printing. Options to print multiple items per page are available for items smaller than 5x7". Trim marks can also be displayed.
- PNG: Best for electronic distribution.
Remember, you can access and download your item as many times as needed. So if you require a different format from your original download, you're free to do so. Time to print that design—we're almost there!
we're all downloaded and ready to print!
The final step is to print your finalized design, which you can do at a print shop or right at home.
I go into the specifics of which printing supplies are best for at-home printing in this blog post. A quick guide would recommend using heavy card stock (80-110 lb), new printer cartridges, and opting for designs with less color.
If you're considering professional printing, Corjl offers an 'Order Prints' option that will redirect you to Prints of Love. From there, you can upload your design.
If the size you need isn't available on Prints of Love, you can request a custom size HERE.
I also offer printing services for certain sizes and am hoping to expand the options soon. You can find those choices HERE.
Alternatively, you can distribute any design electronically. Just download the design as a PNG and send it off!
That was relatively painless, right?
Well, I hope it was! The goal is to make the editing process enjoyable rather than just another item on your to-do list. I do my best to keep everything as flexible as possible during the editing phase so your creativity can truly shine. If you have any questions about either the editing or printing processes, feel free to shoot me an email or reach out through the contact page.
Happy editing!
♡ Nicole